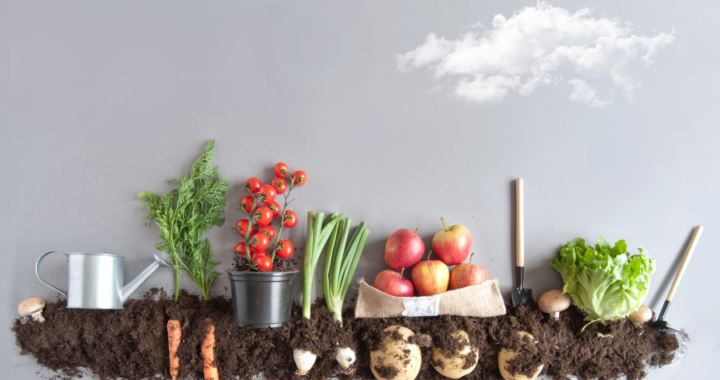
Few things light a gardener’s fire more than warming temps and melting snow. If early spring has you daydreaming about this year’s vegetable garden, you’re in luck! We put together a list of seed-starting to-do’s to set you up for your most successful vegetable garden yet!
The benefits of starting seeds indoors
Particularly in northern climates where growing seasons are hemmed in by late-spring and early-fall frosts, starting seeds indoors is a must. It allows you to get a jumpstart on the season and gives you the ability to choose your own varieties instead of being limited by the seedling varieties at your local greenhouse.
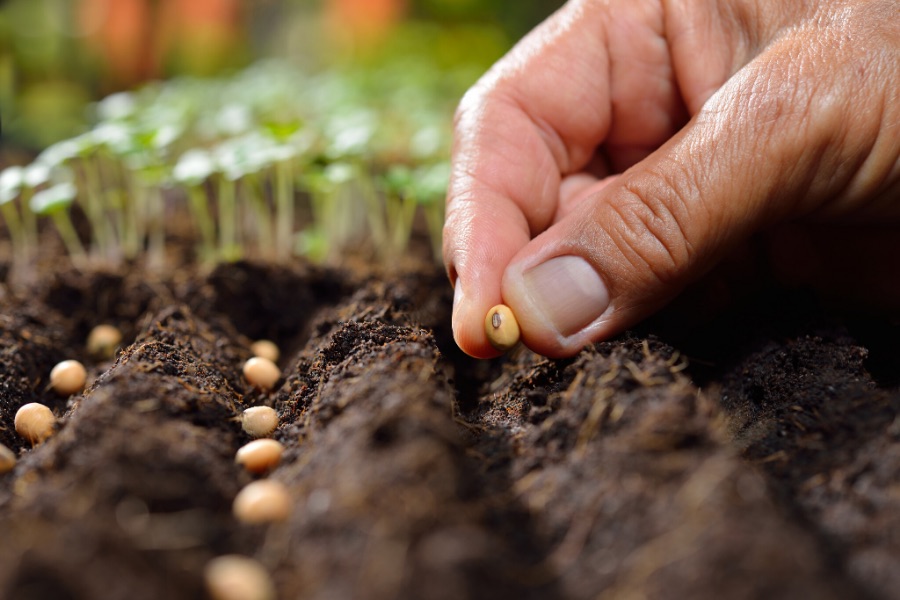
Read the packets!
We can’t stress enough the importance of reading seed packets prior to planting. Some seeds can be started indoors (e.g. tomatoes, peppers, broccoli, cauliflower, cabbage) while others require “direct sow” (e.g. beets, carrots, garlic, onions, peas). The packets will also give you information about the best time to start your seedlings in relation to the anticipated “last frost” and instruct you on planting depth.
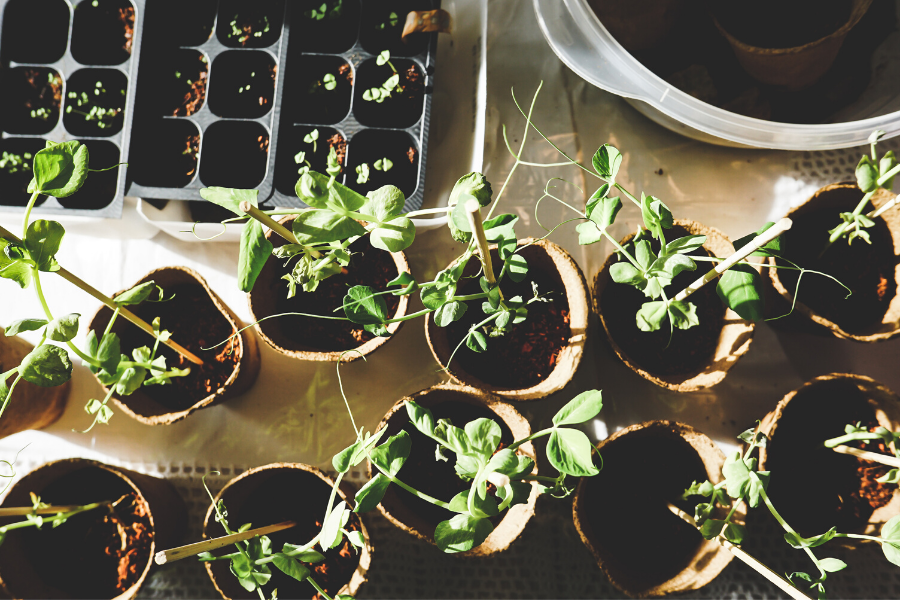
Consider a grow light
When seeds are started indoors, gardeners often put them in sunny windows and hope for the best. While that can work ok if the windows are south-facing, seeds and seedlings need upwards of 15 hours of light each day – much more than Mother Nature provides. When seeds don’t get enough light, they become spindly which leads to weaker plants down the road. A grow light is a great option and allows you full control over how much light your seedlings receive. Just be sure to raise the light every few days so it stays a couple inches above the tallest seedlings.
Maintain moist but not soggy soil
Seeds need a fair amount of moisture to germinate and seedlings need a lot of moisture since they tend to dry out easily. Just be sure not to overwater them or the seeds will rot and won’t germinate. A small mister, watering can or turkey baster are good watering options. Also, keeping a fan on your seedlings will keep moisture circulating and help prevent disease.
When you first plant your seeds, cover them with plastic wrap or a plastic dome to help keep the soil moist for germination. Once your seeds germinate, remove the plastic.
When seedlings are ready, “harden them off” before transplanting them outdoors
Seedlings can go into shock when they’ve been nurtured indoors for months and are abruptly transplanted outdoors in the elements. The “hardening off” process allows seeds to acclimate more slowly to the outdoors. A week or so before you place your seedlings in the ground or in deck pots, place them in a protected spot outdoors and bring them in at night. Your seedlings will welcome this gradual transition and will reward you with deep roots, healthy shoots and a bountiful harvest.
Label your seeds
Few things are more challenging (or frustrating!) than trying to decipher what’s what in the garden. Don’t get so caught up in the moment when you’re planting or transplanting that you forget to label your seeds. This is especially important when you’re planting multiple varieties of the same vegetable since the foliage can look very similar.
A few more tips!
- Make sure your seed containers are 2-3” deep and allow for drainage.
- Fertilize your seedlings with a liquid fertilizer beginning a few weeks after they germinate and continue until you transplant them into your pots or garden.
- Mulch around transplanted seedlings to control moisture and keep weeds at bay.
- Plan for losses. While you don’t want to overplant your garden, the reality is that some seedlings won’t make it to maturity. Plant extras and remove some here and there down the road if needed.
Want some helpful tips for getting your flower garden ready for planting? Check out one of our recent posts!
Summer will be here before we know it. Now is the time to plan! If you have outdoor projects you’d like completed this summer or fall, give us a call at 651.755.7901 to get on our schedule or you can contact us here!